napari installation tutorial
Welcome to the napari installation tutorial!
This tutorial will teach you how to do a clean install of napari. It is aimed at people that just want to use napari. For people also interested in contributing to napari please check our contributing guidelines for more advanced installation procedures. At the end of the tutorial you should have napari successfully installed on your computer and be able to make the napari viewer appear.
installation
which distribution to install
If you are using napari from Python to programmatically interact with the app, you can install via pip, conda-forge, or from source. We recommend that you use conda to help manage the virtual environment. Otherwise you may see compilation issues that are specific to your particular machine, which is difficult for us to debug.
If you do not want to use napari as python code and only use it as GUI app, the bundled app is the easiest way to install. This is also the only method that does not require python knowledge to work with napari, see the from bundled app section.
If you want to contribute back to napari codebase, you need to install from source code: see the from source section.
from pip, with “batteries included”
napari can be installed on most macOS, Linux, and Windows systems with Python 3.7 and 3.8 using pip. However, for Windows users, you need to preinstall Microsoft Visual C++ Build Tools in order to install VisPy (one of the packages we depend on) on Windows machines. If you run into encoding issues, you need to use UTF8 encoding on windows
The simplest command to install with pip is:
pip install napari[all]
Note: while not strictly required, it is recommended to install napari into a clean virtual environment using an environment manager like
conda or
venv.
For example, with conda:
conda create -y -n napari-env python=3.8
conda activate napari-env
pip install napari[all]
from conda-forge
If you prefer to manage packages with conda, napari is available on the conda-forge channel. You can install it with:
conda install -c conda-forge napari
install from the master branch on Github
To install the “next-release” version from github via pip, call
pip install git+https://github.com/napari/napari.git#egg=napari[all]
clone the repository locally and install in editable mode
To clone the github repository for local install
git clone https://github.com/napari/napari.git
cd napari
pip install -e .[all]
checking it worked
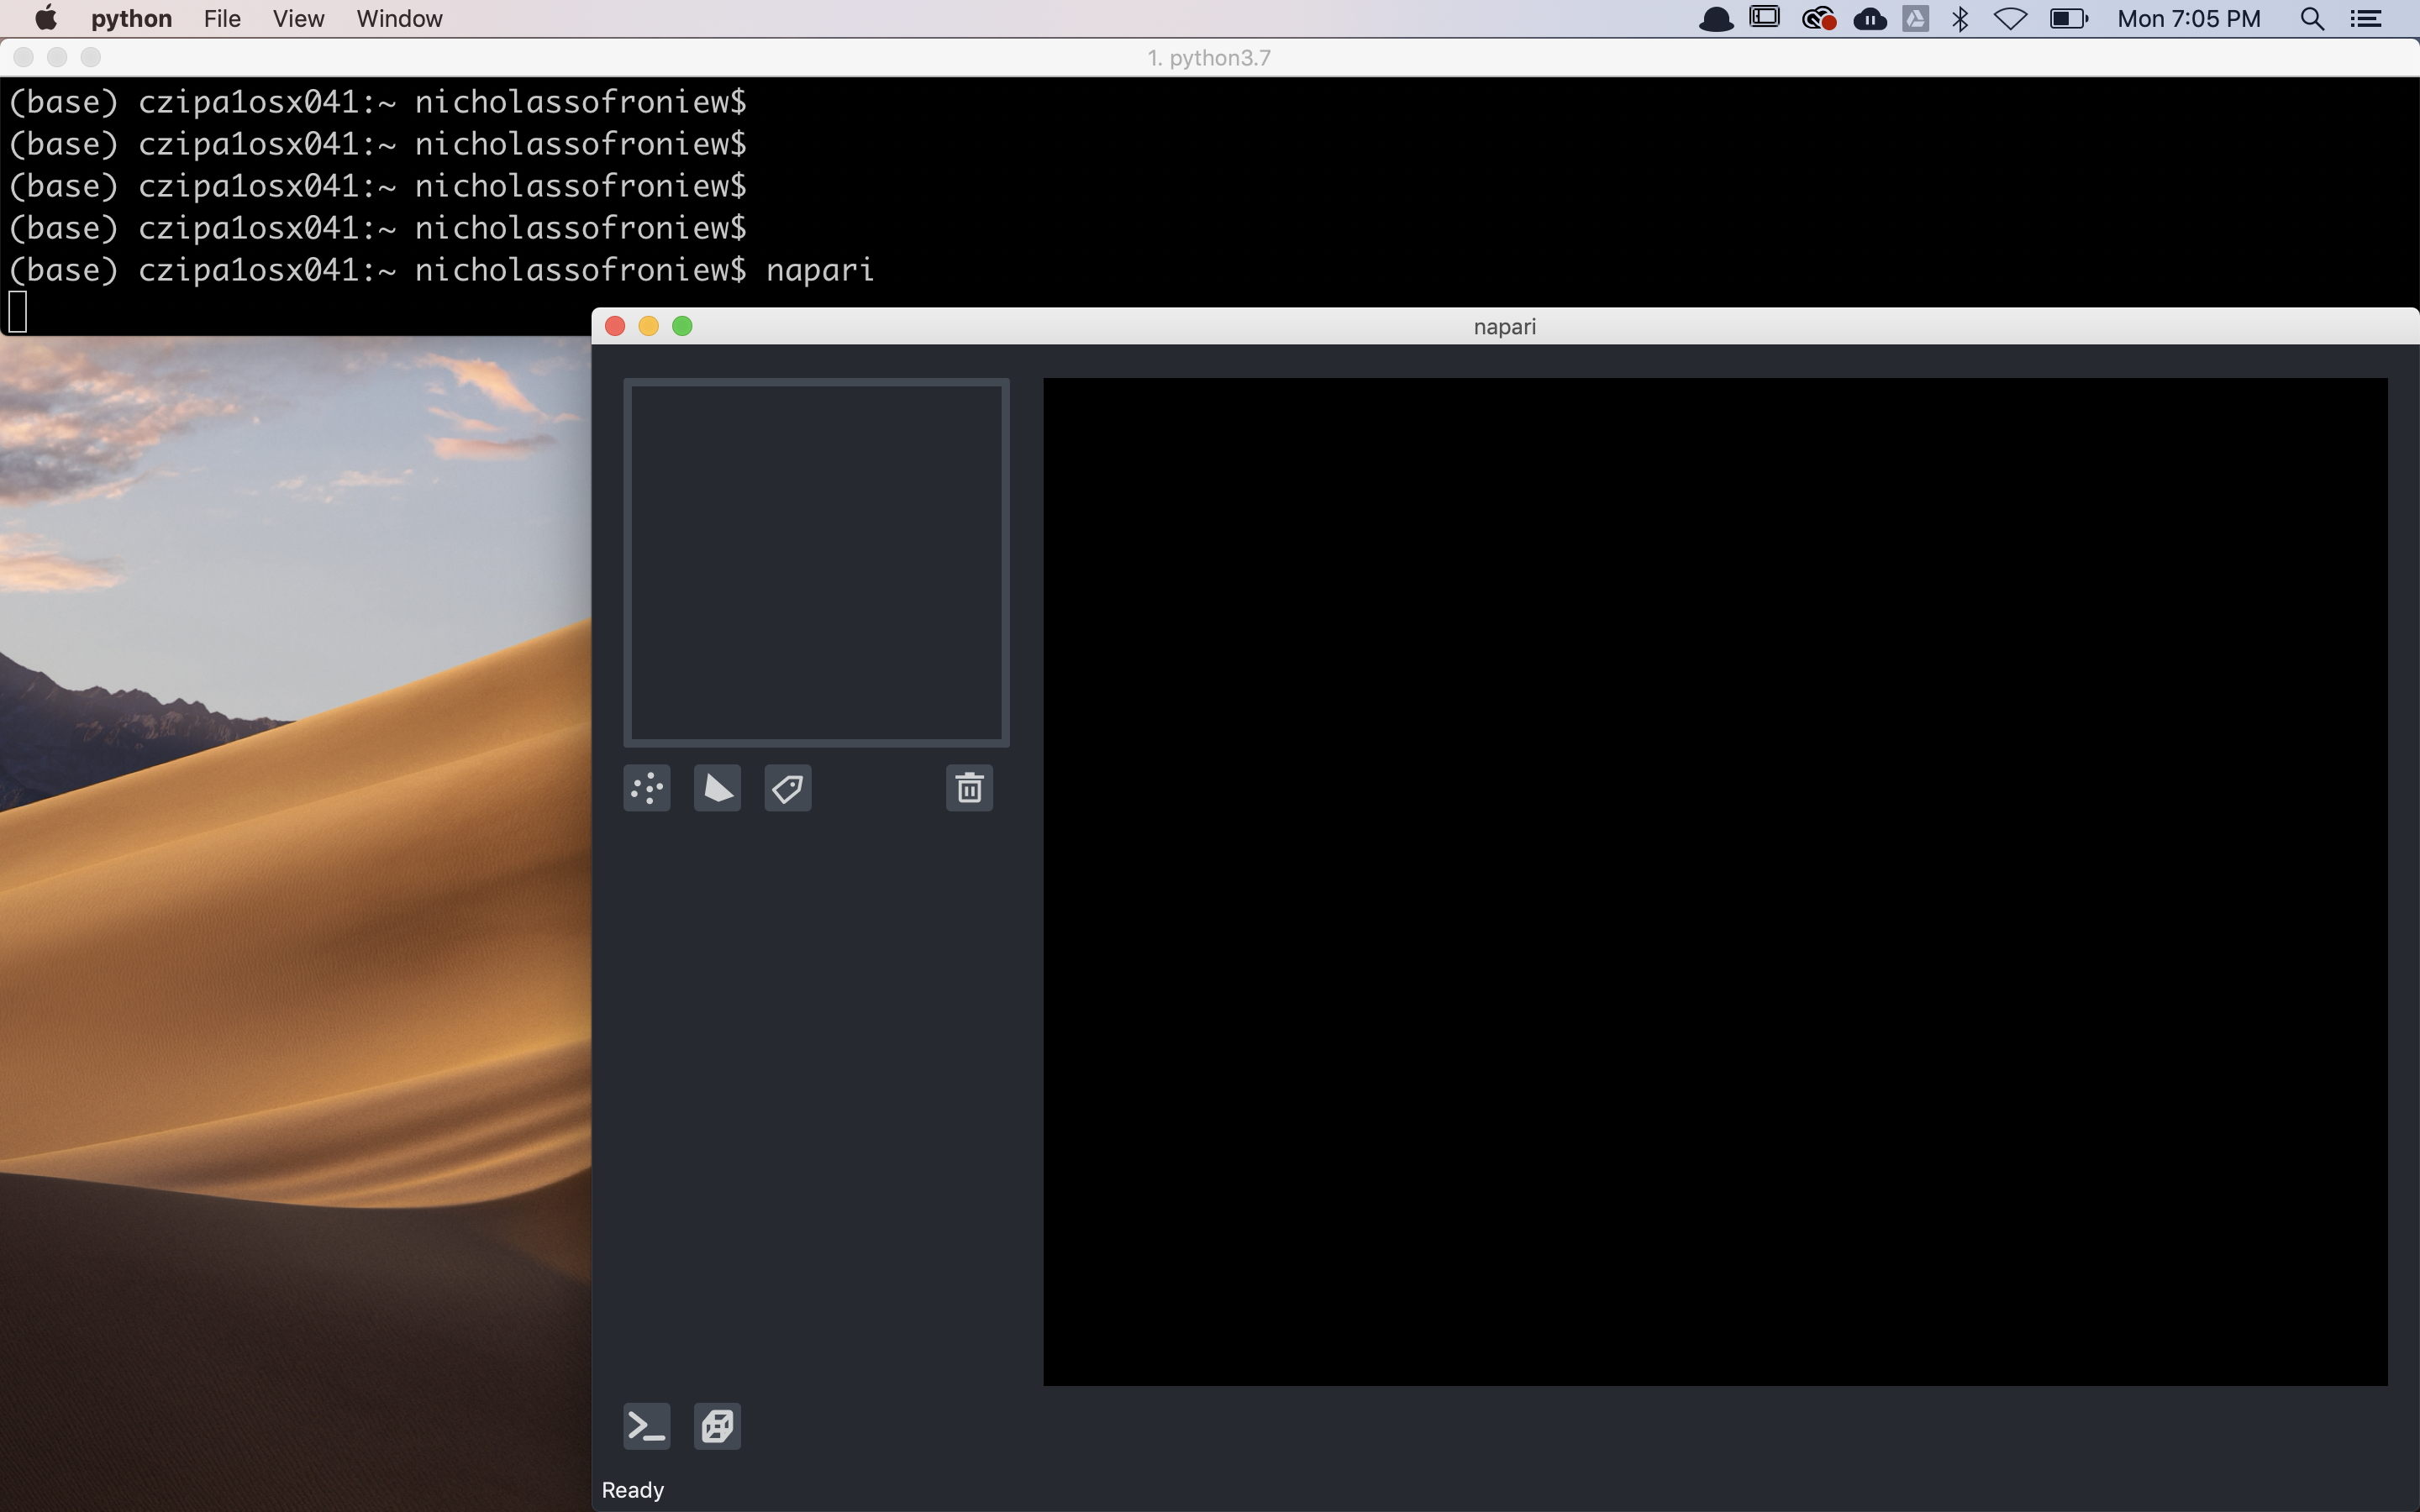
After installation you should be able to launch napari from the command line by simply running
napari
An empty napari viewer should appear as follows
upgrading
If you installed napari with pip you can upgrade by calling
pip install napari[all] --upgrade
choosing a different Qt backend
ℹ️ NOTE
napari needs a library called Qt to run its user interface (UI). In Python, there are two alternative libraries to run this, called PyQt5 and PySide2. By default, we don’t choose for you, and simply running
pip install napariwill not install either. You might already have one of them installed in your environment, thanks to other scientific packages such as Spyder or matplotlib. If neither is available, running napari will result in an error message asking you to install one of them.
As mentioned above, pip install napari[all] will (currently) install
PyQt.
If you wish to use PySide2, or specify the backend explicitly you may do using either
pip install napari[pyside2]

# or for PyQt5
pip install napari[pyqt5]
Note: if you switch backends, it’s a good idea to pip uninstall the one you’re not using.
installing as a bundled app
napari can also be installed as a bundled app on each of the major platforms, MacOS, Windows, and Linux with a simple one click download and installation process. You might want to install napari as a bundled app if you are unfamiliar with installing Python packages or if you were unable to get the installation process described above working. The bundled app version of napari is the same version that you can get through the above described processes, and can still be extended with napari plugins installed directly via the app.
To access the cross platform bundles you can visit our release page
and scroll to the release you are interested in and expand the assets tab to get a view
that looks like this:
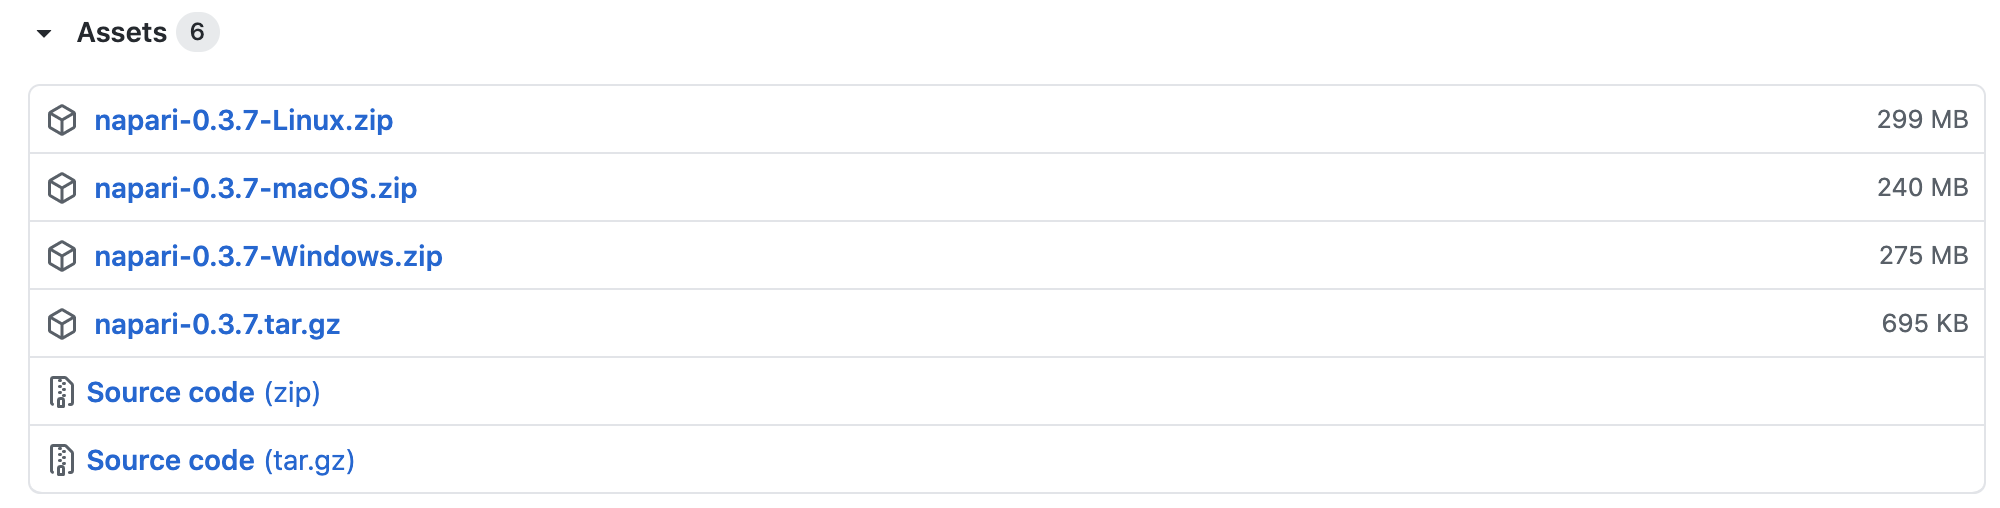
You can then download the appropriate zip file for your platform.
installing the MacOS bundle
Once you have downloaded the MacOS bundle zip you will have a zip file with a name like
napari-0.3.7-macOS.zip. After unzipping you will have a file with a name like napari-0.3.7.dmg.
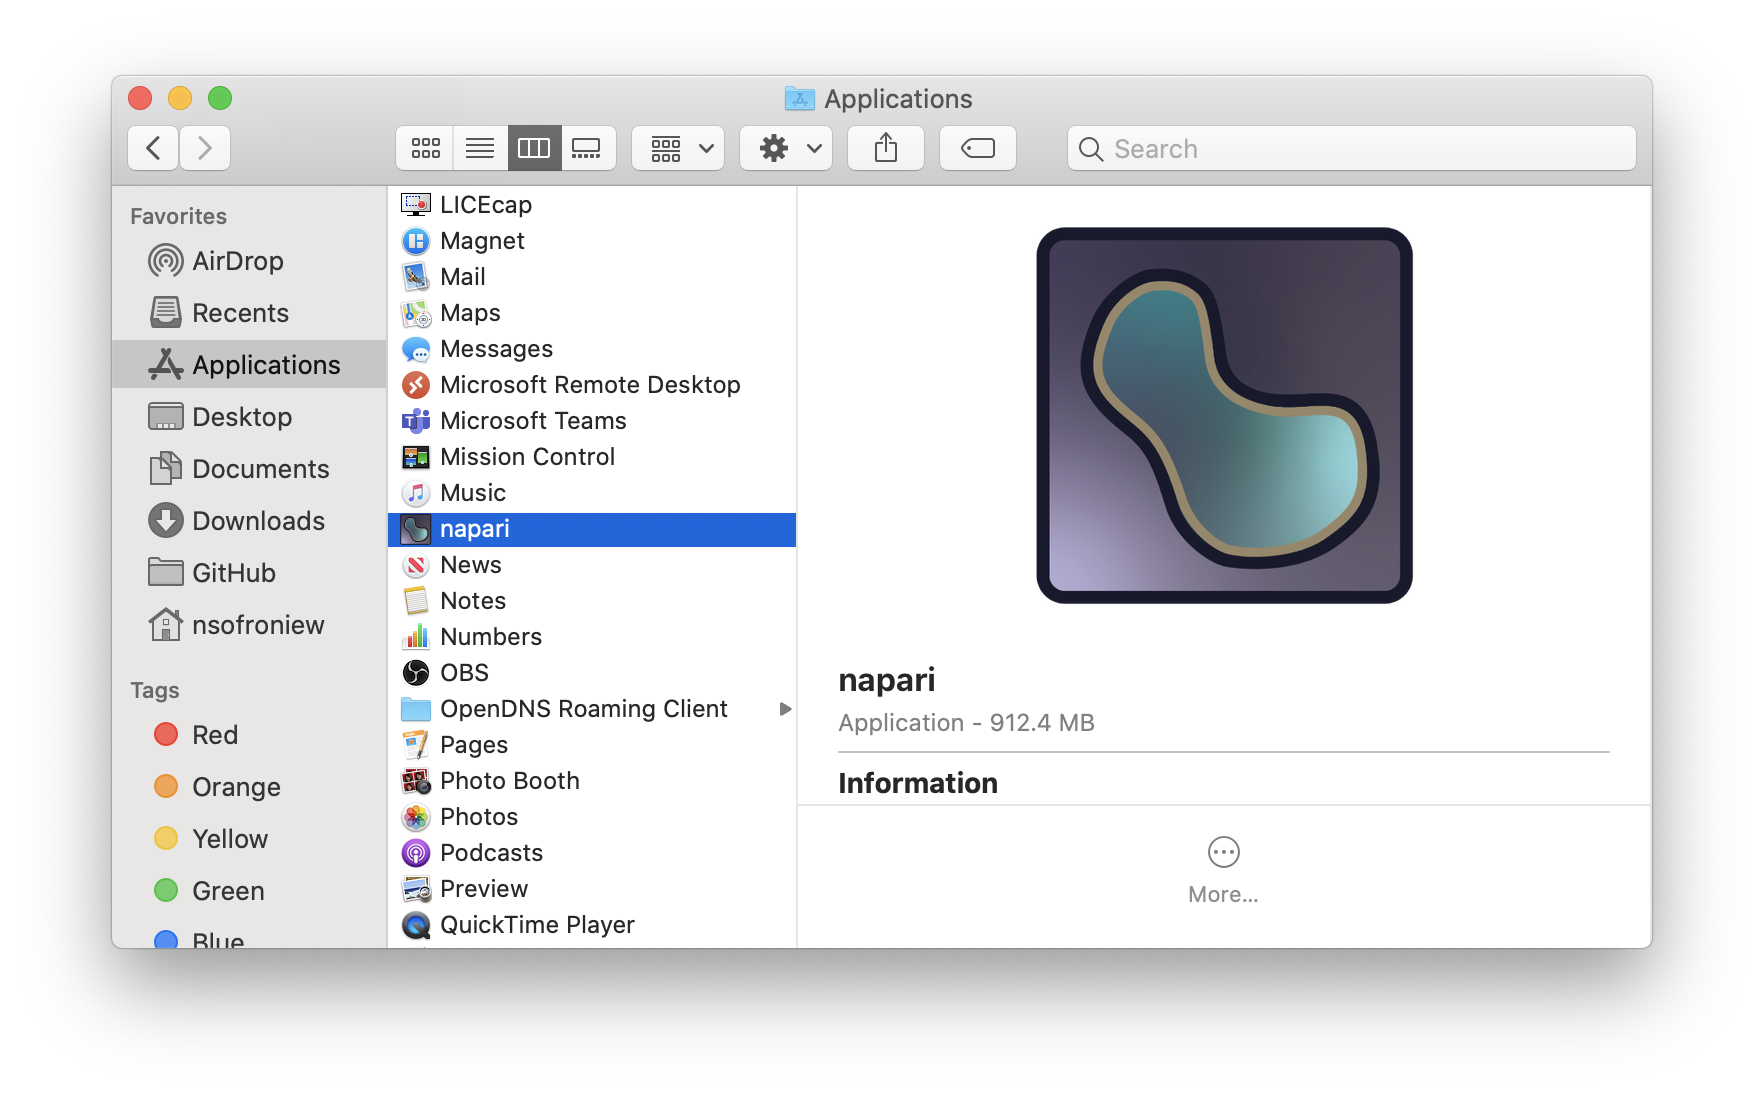
Double clicking the dmg will open a new finder window giving you the option to install
napari into your Applications folder by dragging the napari icon onto the Applications icon.

After you drag the napari icon onto the Applications icon napari will be installed in your
Applications folder and available for opening by double clicking on it.
The first time you try and open napari you will get the “unverified developer warning” that appears bellow:
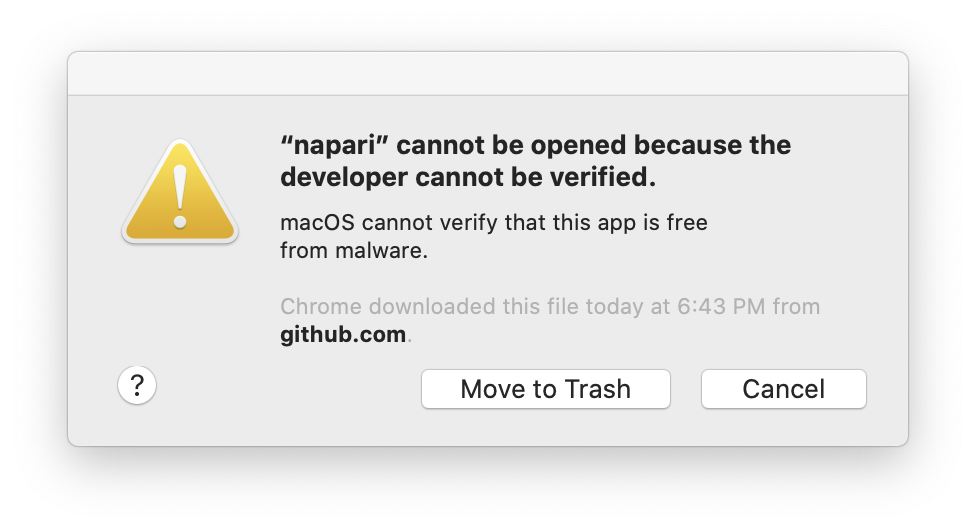
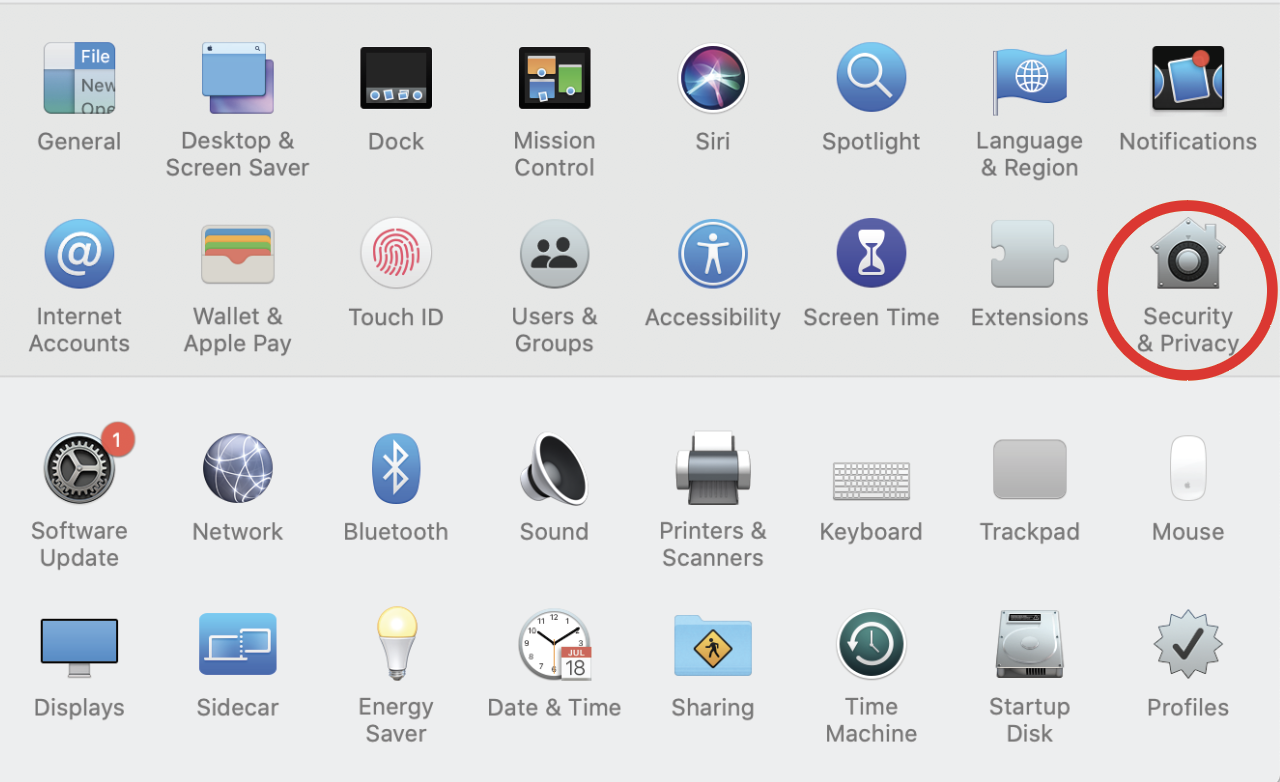
Don’t be alarmed, this is because the napari team has not yet obtained a developer certificate from Apple, but we will be doing this promptly. It is safe to click “Cancel”. To get napari to open you must enter “Systems Preferences” and click the “Security & Privacy” icon, circled in red below:
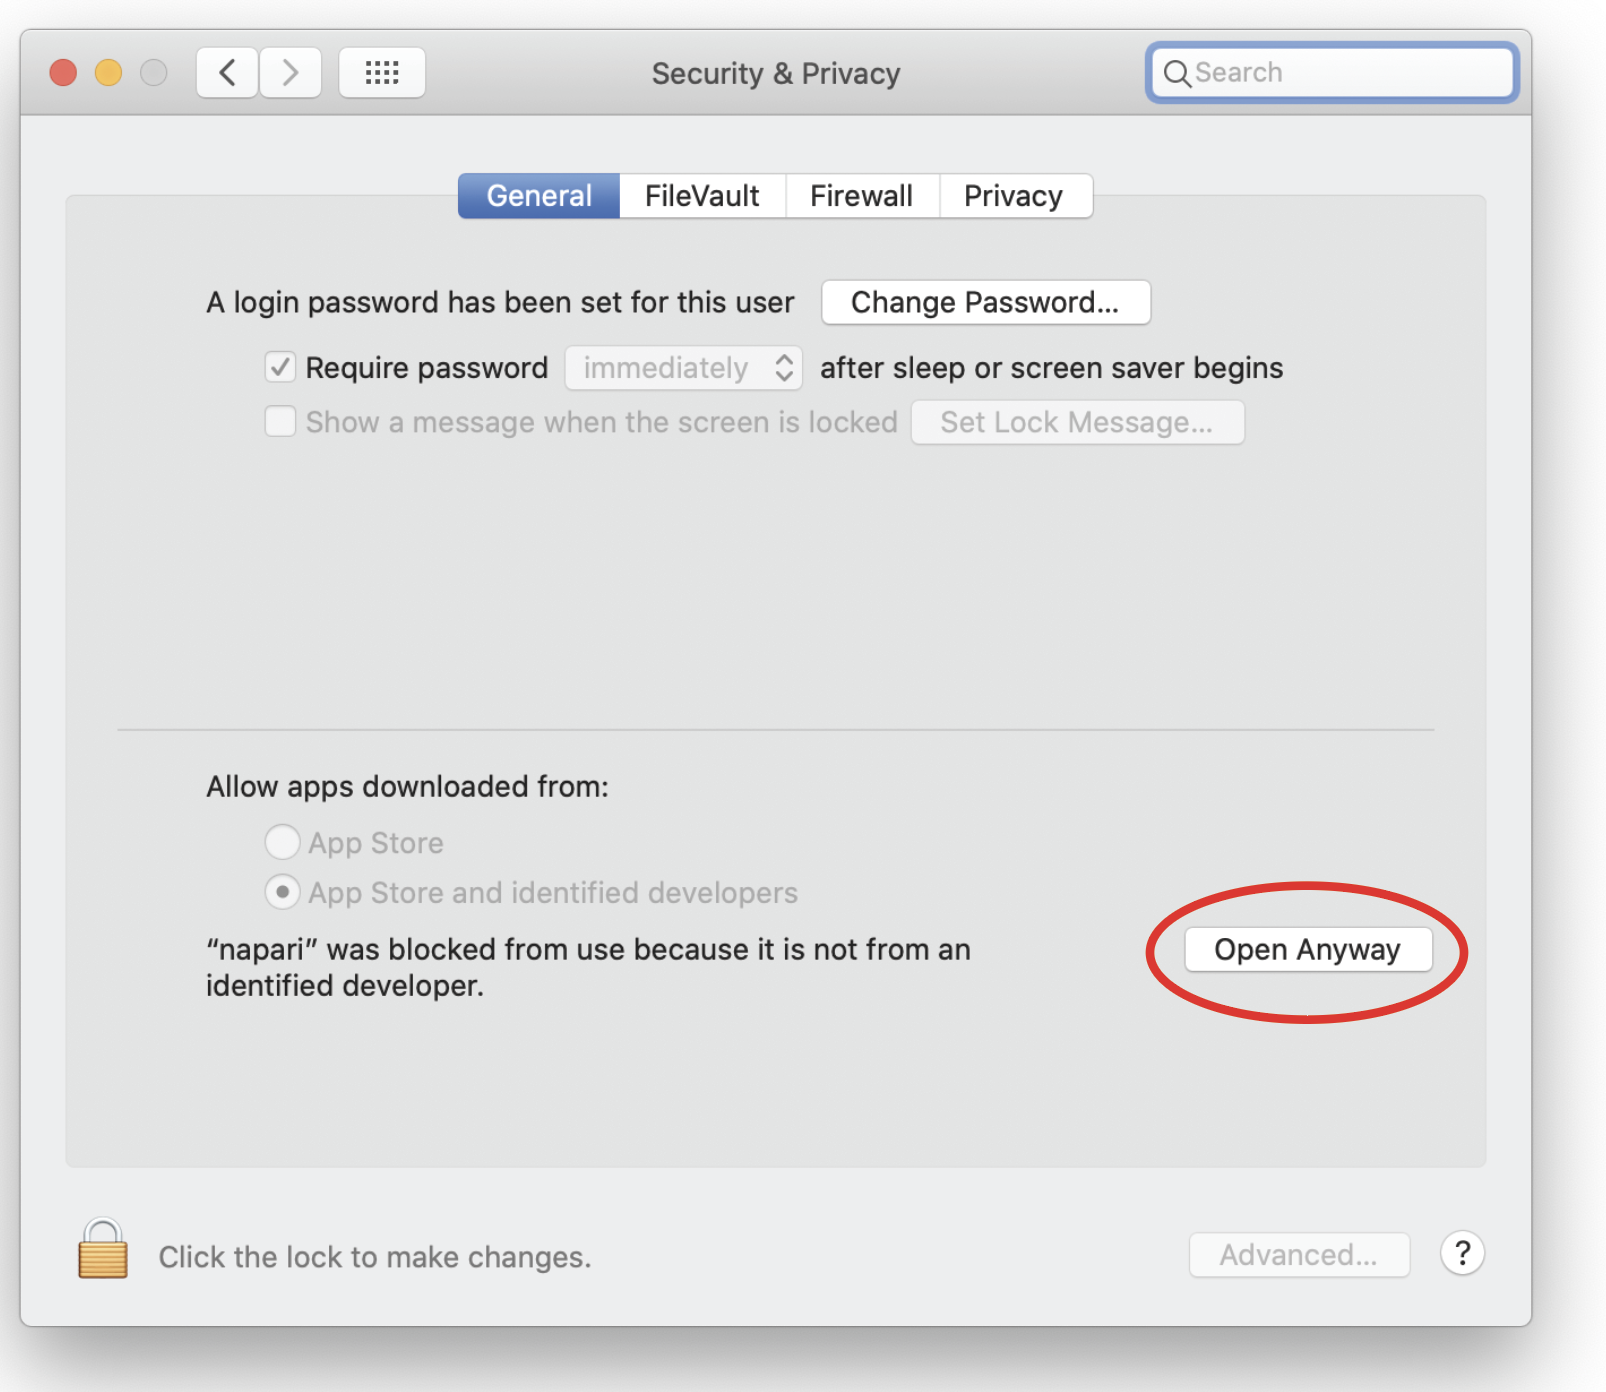
Once inside the “Security & Privacy” tab, you should see a message about napari being blocked and an “Open Anyway” button, circled in red below:
After clicking this button you’ll get one final warning about napari not being verified, but now you’ll have an “Open” button, as seen below:
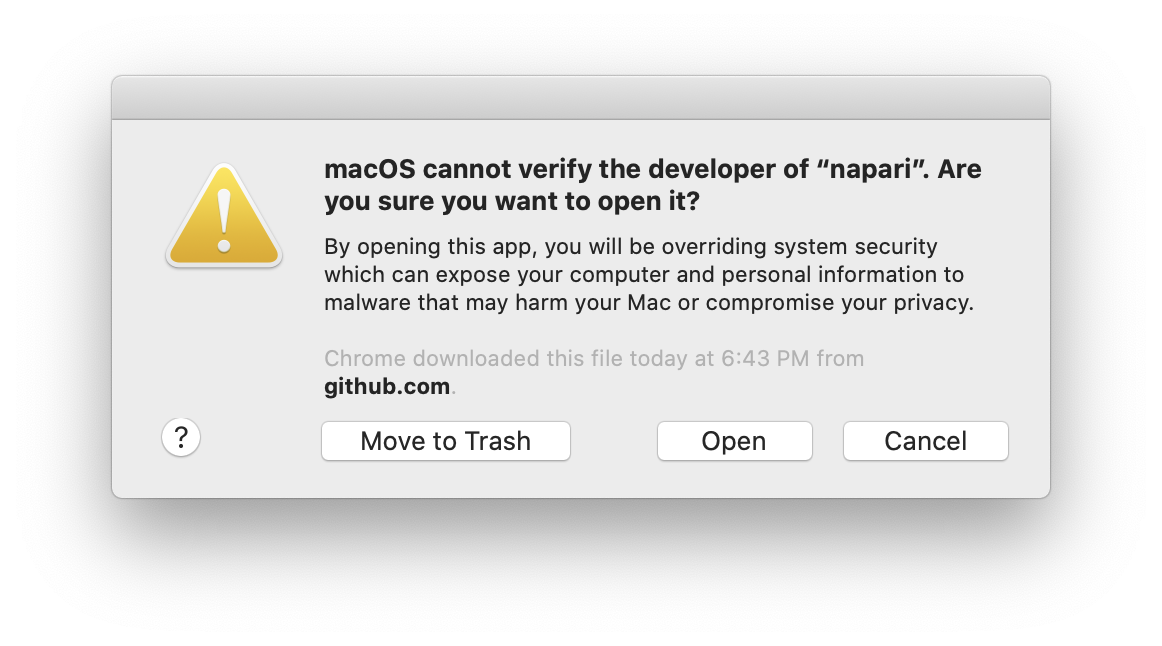
After clicking “Open”, the viewer should appear. Don’t worry, you only have to go through this process once when you install a new bundle.
installing the Windows bundle
Once you have downloaded the Windows bundle zip you will have a zip file with a name like
napari-0.3.7-Windows.zip. Unzip the bundle (you may like to use a tool like
7-zip for this) and double click on msi file, eg: napari-0.3.7.msi
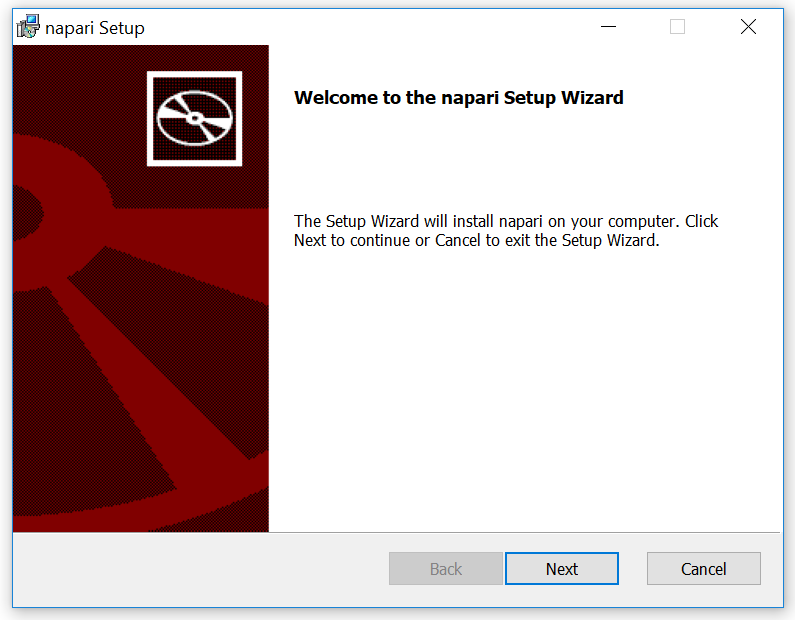
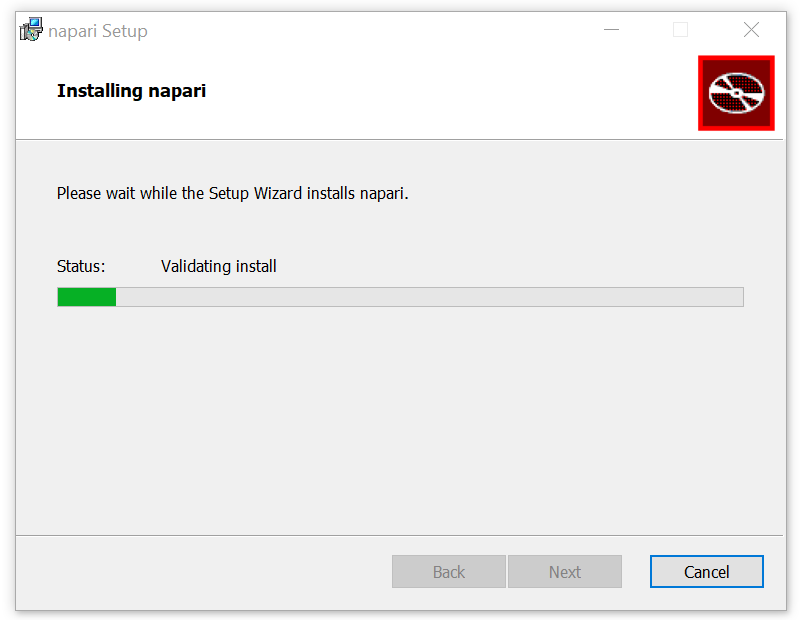
The napari setup wizard will then open. Click “Next” to begin the installation.
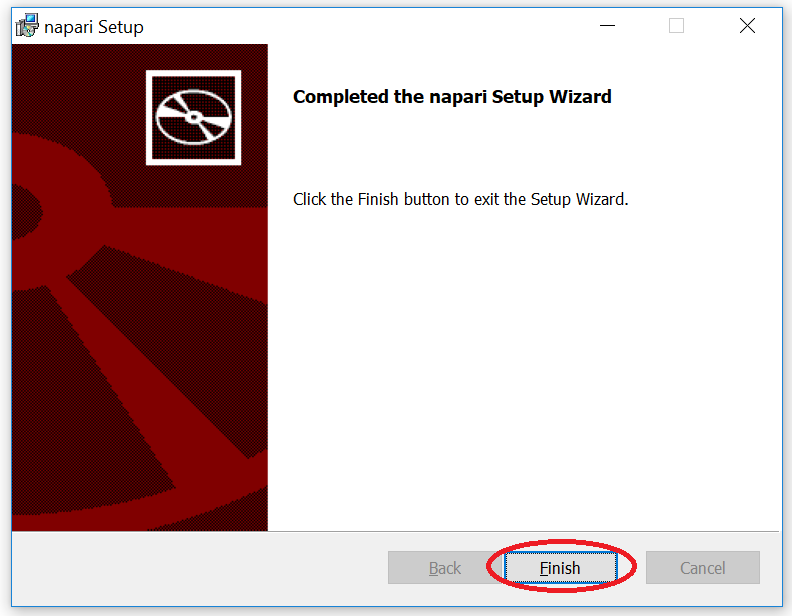
After the setup wizard has installed napari, click “Finish” to exit.
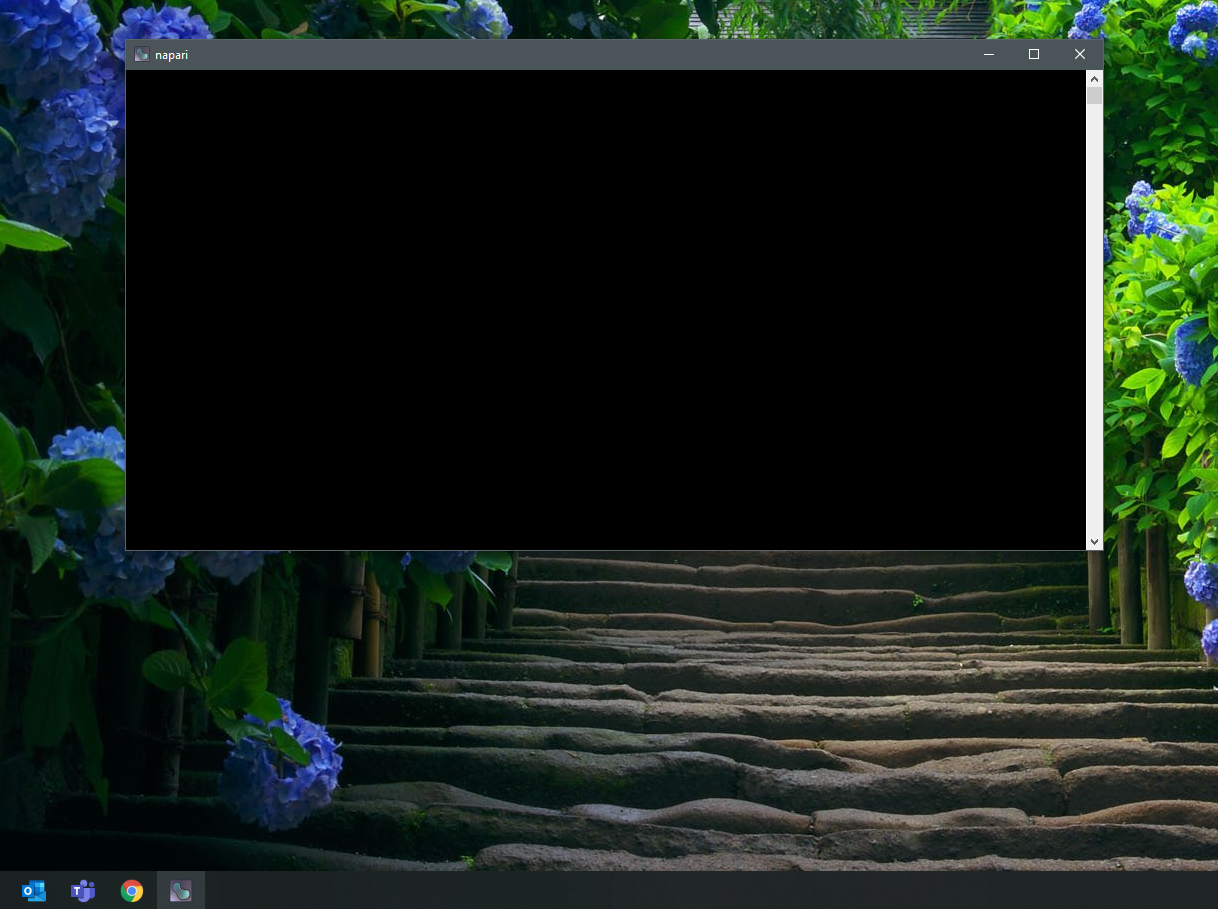
When you launch the bundled napari app on Windows, first you’ll see an empty command terminal appear (do not close this window - you can ignore it). The command terminal will be followed by a napari splash screen, and then the main napari user interface window will appear a few seconds later. Note that errors which might occur during your napari session will appear on the command terminal - so if something is not working, it might pay to take a look at the terminal!
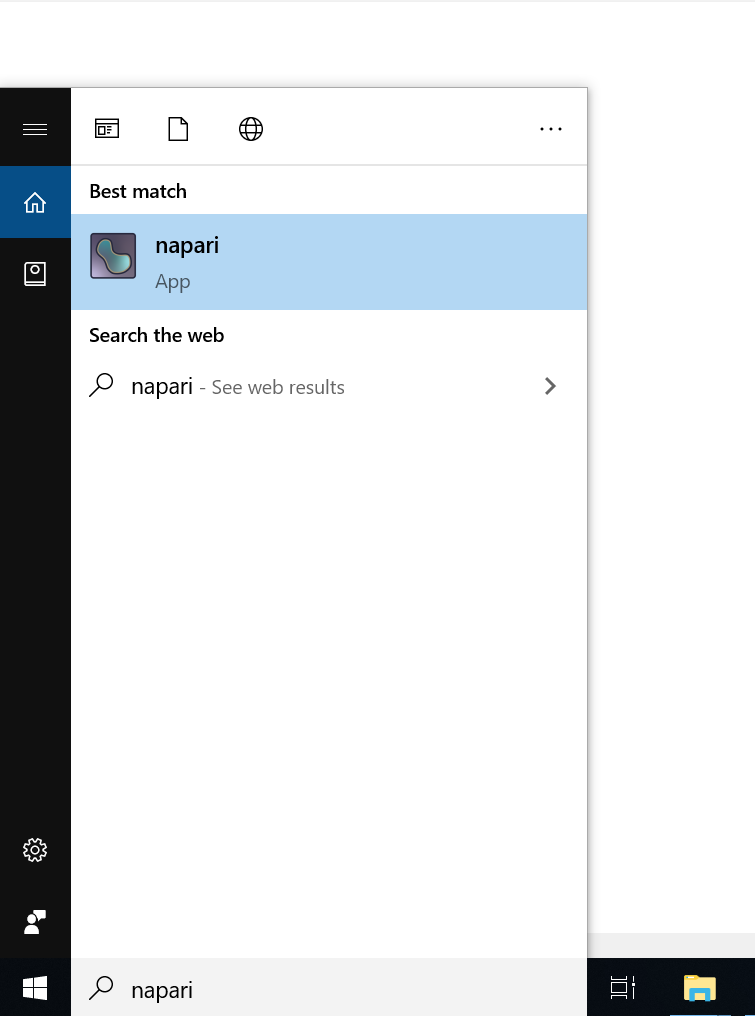
You can launch napari from the Windows start menu.
The very first time you launch napari the startup time will be fairly slow, but after that you will find that napari launches more quickly.
installing the Linux bundle
(Guide coming soon… In the meantime, if you try it and encounter issues, see below for how to contact us.)
bug reports
If you are running into issues, please open a new issue on our issue tracker and include the output of the following command
napari --info
help
We’re a community partner on the imagesc forum
and all usage support requests should be posted on the forum with the tag napari.
We look forward to interacting with you there.
next steps
Now that you’ve got napari installed, checkout our getting started tutorial to start learning how to use it!